
Installing Roofing Felt
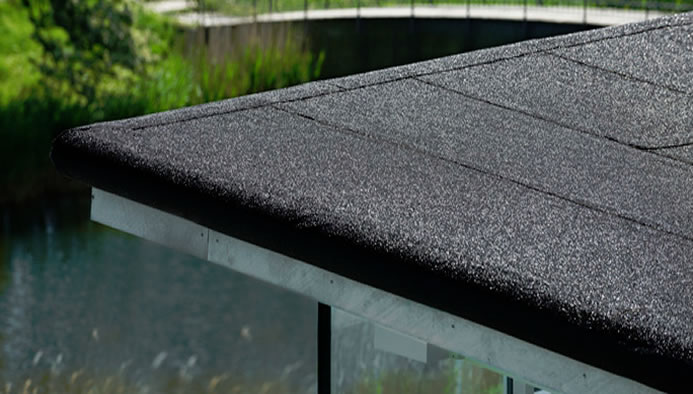
Roofing felt is a layer that is put down on the roof that will keep moisture out of your home and attic. The roofing felt is usually made out of asphalt material and is an important component of a well-built roof, as this is a key piece of material that will protect against moisture.
While installing the roofing felt is easy, there are some things that you need to make sure is done properly to keep your roof in good condition and waterproof for many years.
Exactly what is roofing felt?
It’s a barrier that will protect the wood roof which is under the shingles from getting wet. It’s like a layer of tarp that is laid down between the shingles and roof.
You want to add this layer of protection to your roof to prevent leaks and expensive roofing repair jobs from the wood roof getting wet from storms.
Adding the roofing felt isn’t that hard to do, but there are some things that you must do to make sure that the roofing felt is effective against the elements.
When laying roofing felt you will want to:
Make sure the roof is clean:
Sweep off all debris, and make sure the roof is dry. You want a flat surface to lay the roofing felt on. The sheathing must be dry also. If anything is wet, you will want to wait a few days till everything is dried.
Overlap:
You will want to overlap the felt on the room to make sure that you get that water tight seal on the roof. You will want to overlap the felt about 3/8 of an inch so that you have that watertight seal.
Smooth it out:
Once you have it overlapped you want to make sure it’s smooth before nailing it down.
The most important part is to make sure that the sheathing is dry and the roof is dry before you install it. This way you will know that no moisture is trapped under the felt.
To install roofing felt you will want to start at the eave of the roof and work your way up overlapping as you go. You will want to make sure that it’s a watertight fit so that it prevents damage to your roof.